This post was originally a part of my english blog on ultimate-guitar.com. I decied to move it to my own page, and keep the updates in english.
I have been looking for a DIY-kit for some time, but as I already have a Les Paul, SG and a Strat, I wanted my build to be something different. I almost bought a Telecaster-kit from Saga, but then i watched Phil X demo a few Gibson ES-335 for Fretted Americana on YouTube, and my mind was blown! If, fore some reason, you have yet to experience Phil X, I suggest you do so immediately! Here’s the youtube-channel: http://www.youtube.com/user/frettedamericana
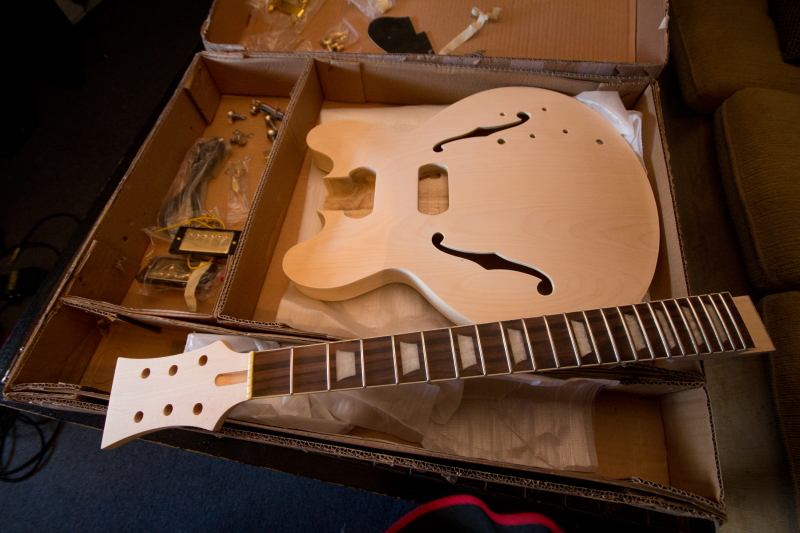
In august 2011 I searched eBay on found this kit for $180:

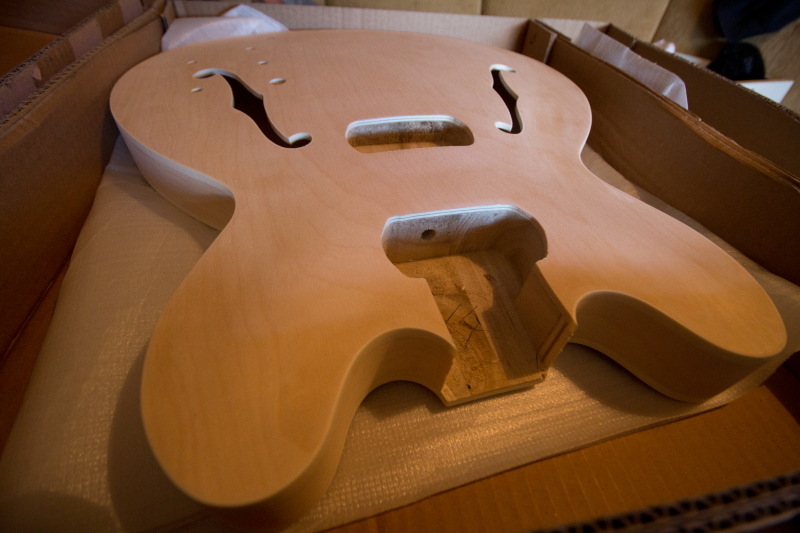
The kit comes with everything you need; body, neck, pots, pickups, knobs, tuners, screws, pickguard, jack-plug. The hardware is gold, which I’m not crazy about. I plan to use black hardware, ’cause I like black hardware for my guitars. So all you need to do is assemble all the parts and apply finish, not necessarily in that order! (Read part 2). Here is a closeup of the body:

The body and neck has a nice binding. The f-holes also has binding, and that is something I’ve not seen on a lot of 335’s. The neck has trapeze inlays, and that was a requirement as I don care for the dot-inlays.
The body is basswood, the neck maple with a rosewood fretboard. It is a C-shape neck, but I’m not sure if it is thick or thin. Compared to my 1998 Gibson Les Paul Studio, the neck is both wider and deeper. It has 22 frets and it has a 24.75 inch scale length which I believe are common to most Gibson guitars. All the important holes are pre-drilled – except for the holes to the bridge and stopbar/tailpiece, and for some, me for instance, that is a good thing.
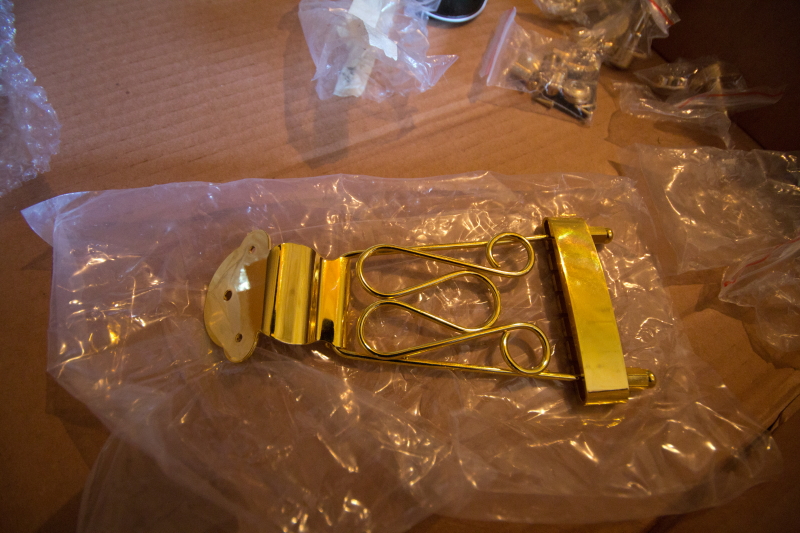
The kit comes with a gold trapeze stopbar. I was undecided for a long time – should I go for the trapeze, a wrap-around-bridge or a “modern” tune-o-matic with a straight stopbar?

I finally decided upon a (reasonably priced) set with a black tune-o-matic bridge (like the Gibson Nashville TOM) and stopbar/tailpiece. More on drilling holes for that and gluing the neck in Part 2.

